

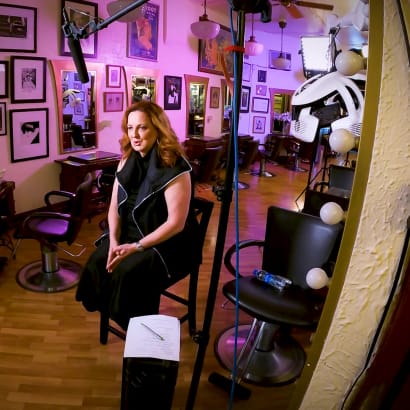
The Education Revolution of 2024
See Sam Villa's advice on diving into education in 2024, and why it's so important to do so.
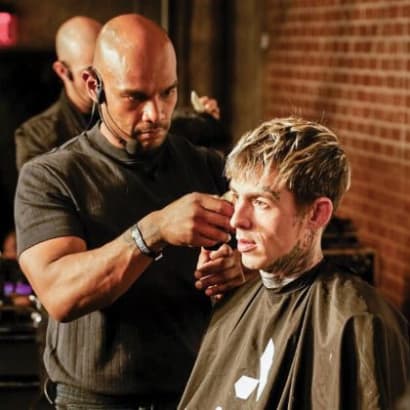
Get the breakdown for this cut from Gianni Scamuci, director of GS Education in London. He outlines ten steps, using both razors and shears, for achieving this shape.

HAIR by @gianniscumaci
This beautiful shape was created by Gianni Scumaci (@gianniscumaci), the director of GS Education and the vision director for John Frieda Salons in London. His feed is filled with inspiring cuts and designs, including this "Broken Shag."
"Broken layers were used to creat this look," Scumaci explains. "I disconnected the ends to leave them weightless for the movement along with lifting the color and applying a soft pastel hue to compliment the shape." (Haircolor by @emmadexnolan)
Scumaci broke down the haircut into ten steps. Also on his feed is a shout-out to stylists, everywhere, to stay strong in these difficult times.
"For all hairdressers around the world missing what they love doing every day, remember that you are missed and loved by your clients and teams and as an industry and by our very nature we will adapt like we do on a daily basis. I miss and love being in the salon with my amazing clients and @johnfriedasalons @nicolaclarkecolour family but we will meet again and when we do it will be better than ever before and post COVID-19, I will still be running behind. 🙏🏻❤️"
THE BROKEN SHAG HOW-TO
ONE: Section off from vertically centre front to center back and horizontally, ear to ear.
TWO: Section two triangle sections from where the head rounds creating a diamond panel on the top.
THREE: Section a discontented panel across the front hairline.
FOUR: Start by graduating the back leaving length around the hairline, over directing to retain length towards the ear.
FIVE: Layer the front panel working backwards towards the back, retaining length around the jaw and ear.
SIX: Connect the back and front together rounding off any corners of weight.
SEVEN: Dry the underneath shape and refine the outlines by softly pointing removing the weight required.
EIGHT: Razor the fringe area to the desired length keeping softness on the ends.
NINE: Release the top and razor cut the lengths in a rounded shape leaving length toward the edges.
TEN: Dry and top and use fingers to allow movement and texture to develop with the feeling of the haircut.
For further information, visit http://www.gianniscumaci.com/education/
OR subscribe at https://vimeo.com/ondemand/gseducation/225091146
Originally posted on Modern Salon
See Sam Villa's advice on diving into education in 2024, and why it's so important to do so.
Hear first-hand from master trichologist Karen Gordon what the “root causes” of hair loss are and what the size of the hair loss/hair replacement market is today. Learn how YOU can get into this lucrative and fulfilling field, assessing your clients’ conditions and adding REVENUE to your business by offering this service and the retail products related to it.
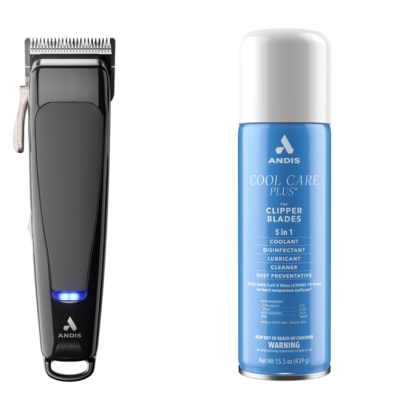
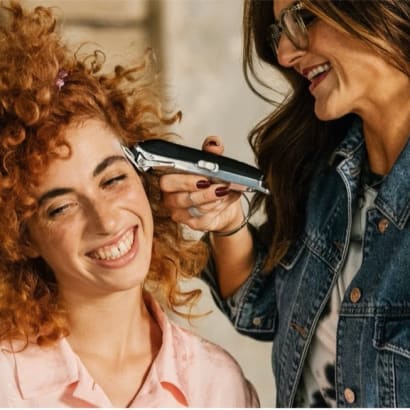
Andis Company shares its expert tips on how to best care for your clippers and trimmers.

Don't miss this complimentary webinar, as successful owners share different strategies for boosting your average ticket and watch your sales grow. Watch live or register and catch it on demand.
Beauty With a Purpose inspires, empowers, and gives scholarships and grants to salon professionals, barbers, and students.
Tune into our complimentary webinar to see how owners and managers are tackling some of the biggest salon management challenges of our time.
Founder Tatum Neill takes the show on the road, inviting each community's artists on stage to cut and style hair to music. Because of the unique culture and vibe of each community, no two shows are alike.
Wahl recently held the grand opening of its new academy in the presence of top industry professionals in a pre-ABS celebration in Chicago.
On September 24, 2022, dads received a lesson from Aveda Arts and Sciences Institute students so they can step up and do their daughters’ hair.

Curl Cult will debut a barber-focused, modern approach with it’s Barber Series Launch Event, and in-person and online event on Monday, September 12, 2022.
A crash course on the important things to consider, and common mistakes to avoid, when it comes to money flowing in and out of your business
In 2022, Barbercon will visit New York/New Jersey, Dallas, Los Angeles and Atlanta. The festival-like event includes hair education, product demonstrations, the Marketplace, the Barber Battle and the Barbercon Awards.
Learn from those who just recently went independent, as well as those who have been doing it for years, what it’s REALLY like to take the leap to becoming an independent salon professional.

Stylists attended two heart-pounding, head-banging, festival-inspired, carnival-themed Next Fest shows in Houston and Nashville this spring.
The L’Oréal Professional Products Division, with its mission to support hairdressers and develop the hair industry while benefitting all, announced its position as title sponsor for the 3rd annual Textured Hair Elevated (T.H.E.) Summit.
On-demand virtual education, downloadable books and guides for all hair types, and free step-by-step tutorial videos help expand skills for barbers and stylists.

NYC celebrity barber is always family first. “I became a barber because I needed to survive. Growing up my mom was a beautician and a single mom raising three kids. I dropped out of school and started working at a salon."